
Printers can encounter issues where print jobs get stuck in the queue, causing delays in printing new documents. Clearing the printer queue helps resolve these issues and allows for smooth printing operations. Here’s a detailed guide on how to clear the printer queue on Windows and Mac operating systems.
Clearing Printer Queue on Windows
Step 1: Access the Print Spooler
- Press the Windows key + R to open the Run dialog box.
- Type services.msc and press Enter to open the Services window.
Step 2: Stop Print Spooler Service
- Scroll down and locate Print Spooler in the Services list.
- Right-click on Print Spooler and select Stop from the dropdown menu.
Step 3: Clear Print Jobs
- Open File Explorer and navigate to C:WindowsSystem32spoolPRINTERS.
- Delete all the files in the PRINTERS folder. These are the stuck print jobs waiting to be processed.
Step 4: Restart Print Spooler Service
- Return to the Services window.
- Right-click on Print Spooler and select Start to restart the service.
Clearing Printer Queue on Mac
Step 1: Open Printer Queue
- Click on the Apple menu and select System Preferences.
- Click on Printers & Scanners and choose your printer from the left panel.
- Click Open Print Queue.
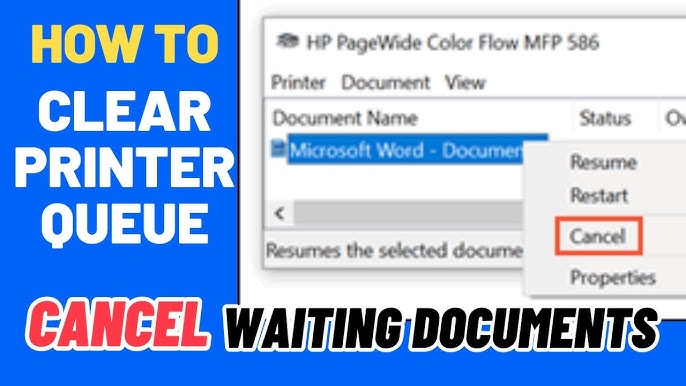
Step 2: Remove Print Jobs
- Select the print job(s) you want to remove from the queue.
- Click on Document in the top menu and select Cancel to remove the selected print jobs.
Step 3: Restart Printer
- Turn off your printer and wait for a few seconds.
- Turn the printer back on to clear any remaining print jobs from the queue.
Troubleshooting Tips:
- If unable to clear the queue, restart your computer and try again.
- Ensure the printer is connected properly and turned on.
- Update printer drivers to prevent future queue issues.
Clearing the printer queue on Windows and Mac systems is an essential troubleshooting step to resolve stuck print jobs and ensure efficient printing. By following these steps, you can easily clear the print queue and resume printing without delays.
For more helpful printer-related tips and troubleshooting guides, stay tuned to our blog for regular updates.
How to Reset HP Printer to Factory Settings: A Comprehensive Guide
Resetting your HP printer to factory settings can resolve various issues, restore default configurations, and clear erroneous settings. Follow these steps to perform a factory reset on your HP printer effectively.
Before You Begin:
- Backup Preferences: Note down or take a picture of any customized settings or preferences you want to restore after the reset.
- Ensure Printer Readiness: Ensure your HP printer has enough ink or toner and is connected to a power source.
Steps to Reset HP Printer to Factory Settings:
Step 1: Power On the Printer
- Turn on your HP printer and wait for it to become idle or ready.
Step 2: Access Printer Control Panel
- Navigate to the printer’s control panel or display screen.
Step 3: Access Settings Menu
- Locate the Setup or Tools option on the control panel.
Step 4: Restore Factory Defaults
- Look for the option that mentions Restore Defaults, Factory Reset, or Reset All Settings.
- Select this option to initiate the factory reset process.
Step 5: Confirm Reset
- The printer might prompt a confirmation message for the reset.
- Confirm the action to proceed with resetting the printer to its factory settings.
Step 6: Wait for Reset Completion
- The printer will begin the reset process, which may take a few minutes.
- Avoid interrupting the process until the printer completes the reset.
Post-Reset Procedures:
- After the factory reset is complete, the printer will restart with default settings.
- Reconfigure the printer settings as needed, including language, region, and wireless settings.
Troubleshooting Tips:
- If encountering issues during the reset, refer to the printer’s manual or HP’s official support for specific instructions.
- Ensure the printer is connected securely to the power source and turned on throughout the reset process.
Performing a HP printer reset factory settings can help resolve persistent issues or restore default settings. By following these steps, you can effectively reset your HP printer to its factory settings and restore it to a clean slate for optimal performance.
For more printer-related troubleshooting guides and helpful tips, stay tuned to our blog for regular updates
